After watching old episodes of Great British Bake off and being obsessed with Tea, I was really inspired to my scones while recovering from the flu at the weekend!
Before you worry about me making others sick, I was getting over it and ate most of them… well 7 of the 9 I made….
I love scones as a treat as you can add as much (or in my case) little cream and jam as you want. For super tasters desserts can sometimes be a bit of a problem with such rich sweet flavours. I love food, especially desserts, where I have control over how rich it is. If you are looking for a treat for a super taster, this is perfect!
The great thing about this recipe, not only is it quick and simple but it also is just made of ingredients that you generally have around the house anyway! For my first batch of scones that I have made, they came out really well and I can’t wait to make more again very soon.
To make these simple scones you need the following:
- 225g self-raising flour (and extra for dusting stuff)
- 2 tbsp caster sugarr
- 1/2tsp salt
- 55g unsalted butter
- 125ml milk (I used semi skimmed but whole fat milk is apparently much better!)
You can also add lemon and chopped ginger, but as a supertaster (and through being lazy) I didn’t.
Remember you will also need whatever it is that you want to include in your scone once finished. I went for the traditional clotted cream and jam coz you sometimes can’t beat the classics.
So how do you make these nice and simple scone you ask?
First the basics, pre-heat the oven to 200 degrees or gas mark 6 and get everything cleaned up and ready. Lucky this is a great recipe that you don’t need any mixing equipment other than a butter knife, decent sized bowl, scales and baking tray! I also used a small glass cup to cut out the mix so it is a really handy recipe to do with kids.
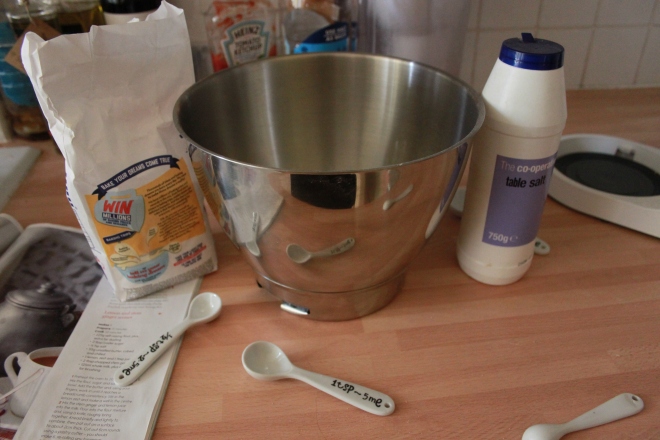
Now I am lucky as I do have cute measuring spoons and if you are going to cook regularly I highly recommend them. Unlike trying to using normal spoons and trying to work out how heaped or unheaped you want it, these are designed so that you can get an exact same amount every time!
Now you are ready put the flour, sugar and salt into the bowl. Then chop up the butter into small cubes. The smaller the better as this will make the next bit a lot easier! Put the butter into the bowl, but try to spread it out otherwise it tries to stick to its self rather than mix in with the other stuff in there.
Now is the fun (but messy part), you need to work in the butter to the mixture. This basically means that you try to squish and smoosh the all the mixture together so that the butter and mixed into the flour, sugar and salt until it all is a breadcrumb consistency. Really make sure that you get the butter throughout the whole mixture and keep going until you are really sure that the butter is throughout the mixture.
Now this is the part where if you want to add lemon and ginger, this is when you add 2 tbsp of chopped ginger and 1 tbsp of lemon juice to the 125ml of milk, otherwise just pour in the milk to the breadcumb like mixture.
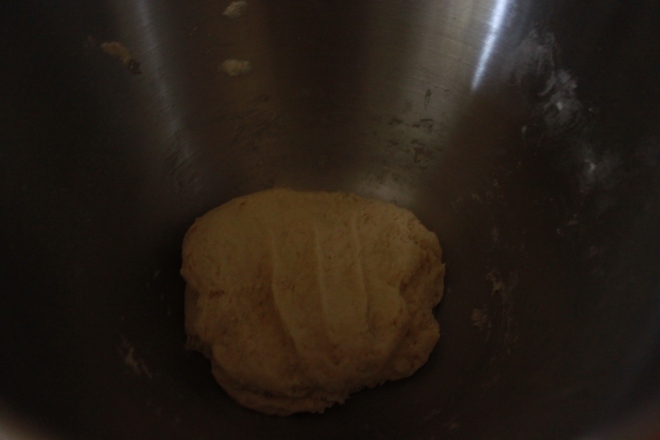
Now the next bit may sound werid but rather than using your finger, a mixer or other normal mixing utensils, you actually use a plain old butter knife to roughly mix everything together. This means that you get a really rough mixture that you associate with scones. Mix it up too much and it will be more like cake.
Now you need to knead the mix briefly (again remember that too much pounding and you won’t get that scone texture we are looking for).
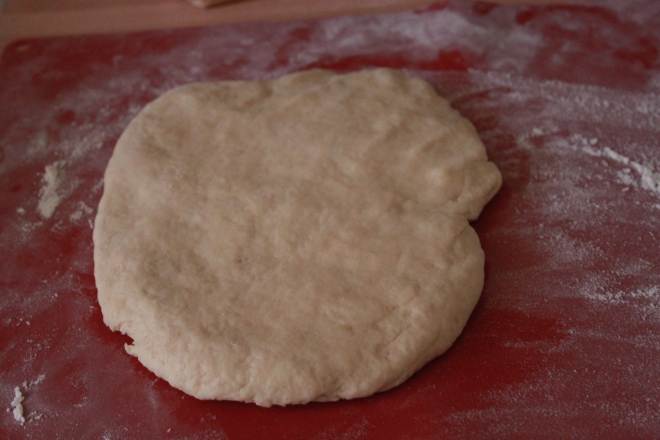
Using your hands, pat flat the mixture till it is about 2cm thick. Remember if you are pat it too thin you won’t get good height on your scone. It is quite deceiving so don’t make it too flat! Patting it flat gives it that nice top texture and makes it harder to make it too flat.
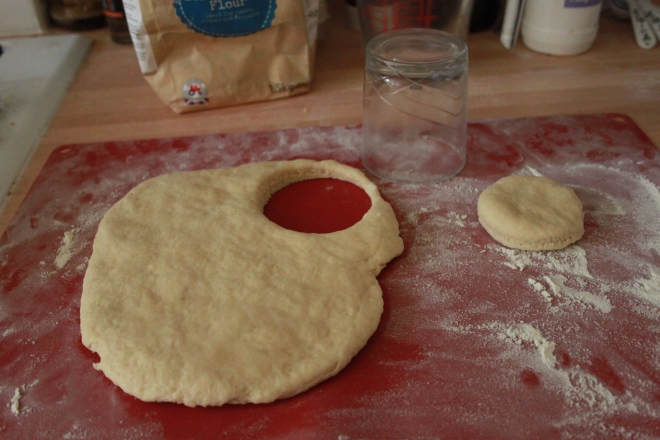
I used a small glass to cut out the scones (in fact I used an old nutella glass) but you can use other cutters. You should get about 6 scones, however you will need to roll together the leftovers to make the final scone. If you pat the mixture too thin, you will find you get more than 6.
Now is time to take those cut out scones and put them on a baking tray lightly dusted with flour.
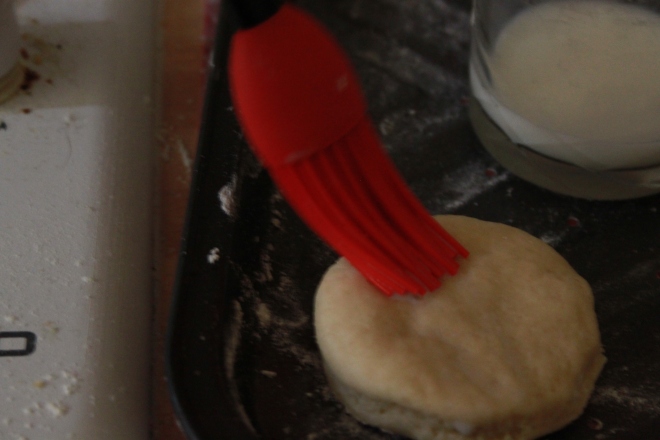
Lightly brush the scones with milk. You can do this with clean fingers or with a pastry brush.
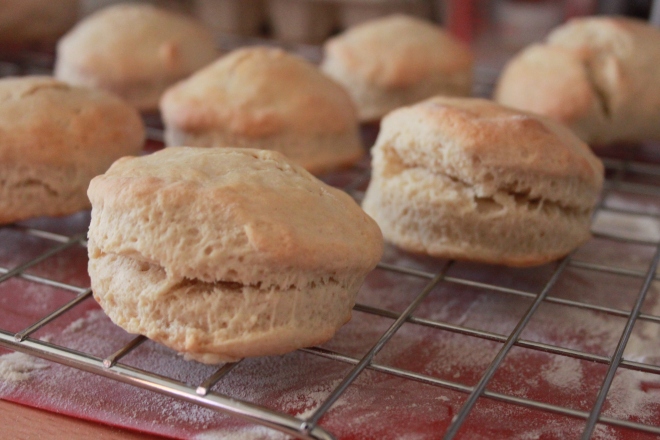
Now it is time to put your scones in the oven for 18-20 minutes until nice and golden. Let them cool and then gobble up with clotted cream and jam!
These are quick and simple scones that will be sure to please most people. Because of the nice simple texture and taste, even super tasters will love this as they will be able to add as much or little filling as possible.
Mine came out really well but I would love to hear how yours came out! Will you be adding any additional flavours or ingredient? Or any tips that you have that you found when making yours?
Now the famous debate… do you put clotted cream or jam on your scones first?



0 Comments